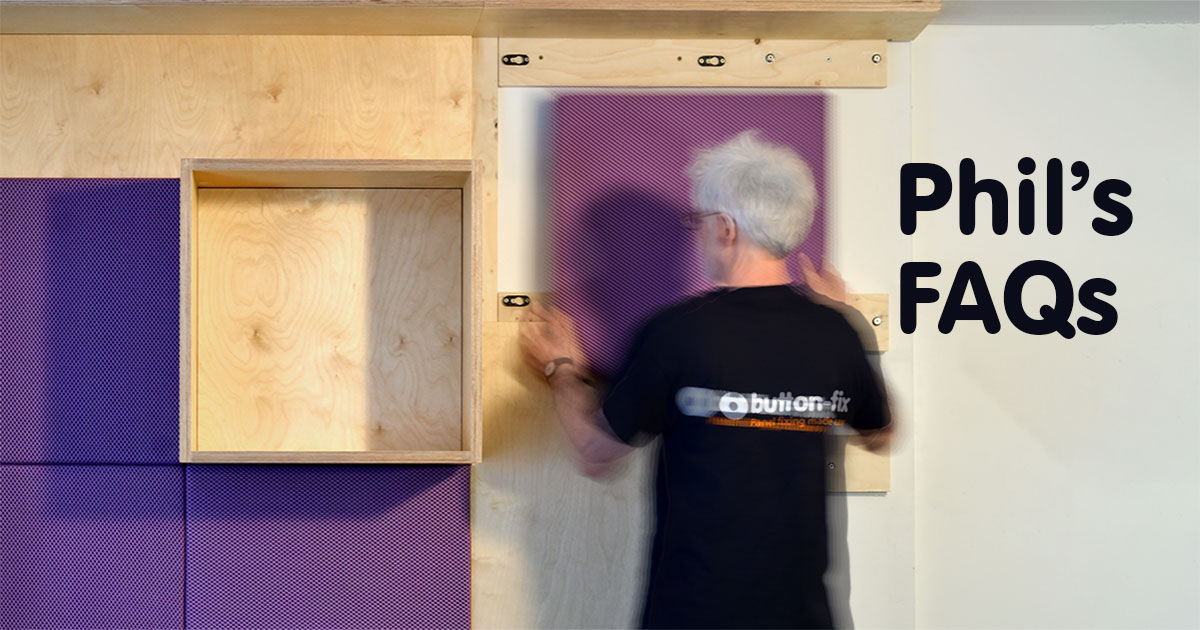
How to fix to plasterboard or drywall using Button-fix
We often receive inquiries regarding fixing to plasterboard or drywall; here's a brief summary of ways we have tested and found to work well.
If possible, for maximum strength, always try to fix through to the wooden studs, joists, or beams behind a plasterboard wall or ceiling. However, where this isn’t practical, there are some good options available.
First a note of caution. On ceilings, the plasterboard can be sometimes as thin as 9.5mm, which makes it quite fragile. We don't recommend installing Button-fix onto 9.5mm plasterboard unless the screws attaching either the Fixes or the Buttons are screwed through into the supporting beams.
In most other cases, plasterboard is usually 12.5mm thick or greater, and it is often doubled up to provide additional strength and acoustic properties. For these applications, we particularly recommend using metal cavity fixings, like Rawlplug SM Interset M5 fittings, or the equivalent Fischer HM M5 metal cavity fixings. We have successfully tested both Type 1 and Type 3 Button-fixes with these cavity fixings and 12.5mm plasterboard. Ø25mm 'penny' washers should be placed under the Buttons to help spread the load. We also found that the cavity fixings are best installed with the manufacturer's installation pliers. Ensure you choose the correct length of cavity fixing for the thickness of your plasterboard.
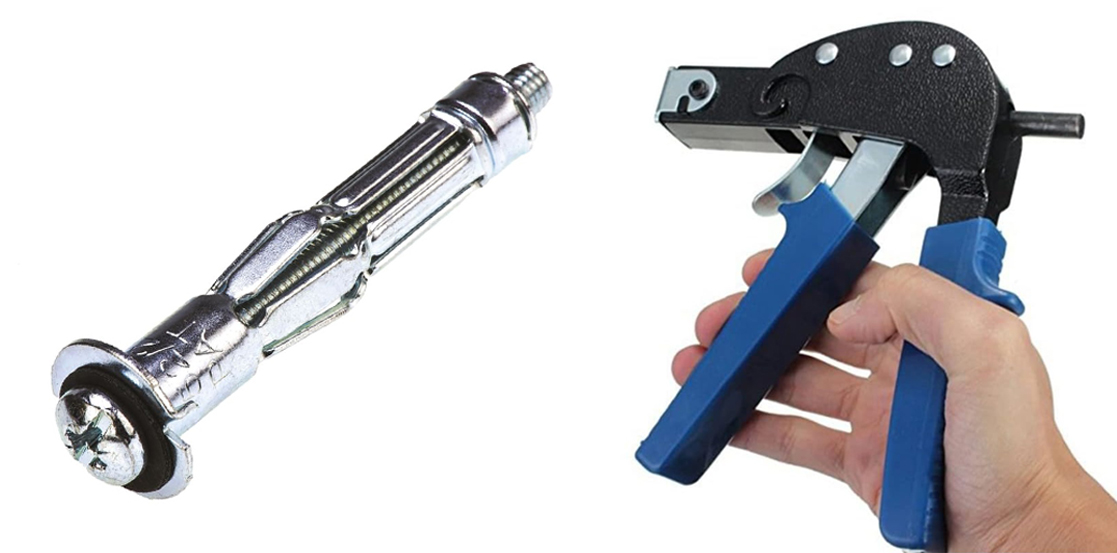
Interset fixings have the advantage that they remain firmly attached after removal of the screw, allowing extra washers to be easily added, to space-off and level the panel if necessary.
When attaching green Type 1 Buttons using Intersets, the standard pan-head M5 screws that are supplied with the fitting need to be swapped out, after installation, with suitable length countersunk M5 screws.
Other common heavy-duty plasterboard fixings can work with Button-fix too, for instance, spring toggles, Zip-fix cavity fittings, and Bullfix fittings. These should all be used with a Ø25mm penny washer behind the Button, just like the Interset fixings. Spring toggles have the disadvantage that they require a large hole, which can cause inaccuracy in the final placement of the Button, and if you remove the screw, the toggle falls down the back of the plasterboard!

We don’t recommend self-drilling metal or plastic fittings. They are not strong enough for most Button-fix applications.
By following these instructions, Button-fix products can support substantial loads, up to those specified for the plasterboard anchor by their manufacturer, and also withstand many cycles of removal and replacement on both walls and ceilings.
Share this article

.jpg)