How to mount PET felt acoustic panels using Button-fix
PET acoustic panels are commonly glued to sub-panels or directly to walls, making them difficult to remove, reconfigure or reuse elsewhere. Mounting the panels with Button-fix, on the other hand, makes removal easy.
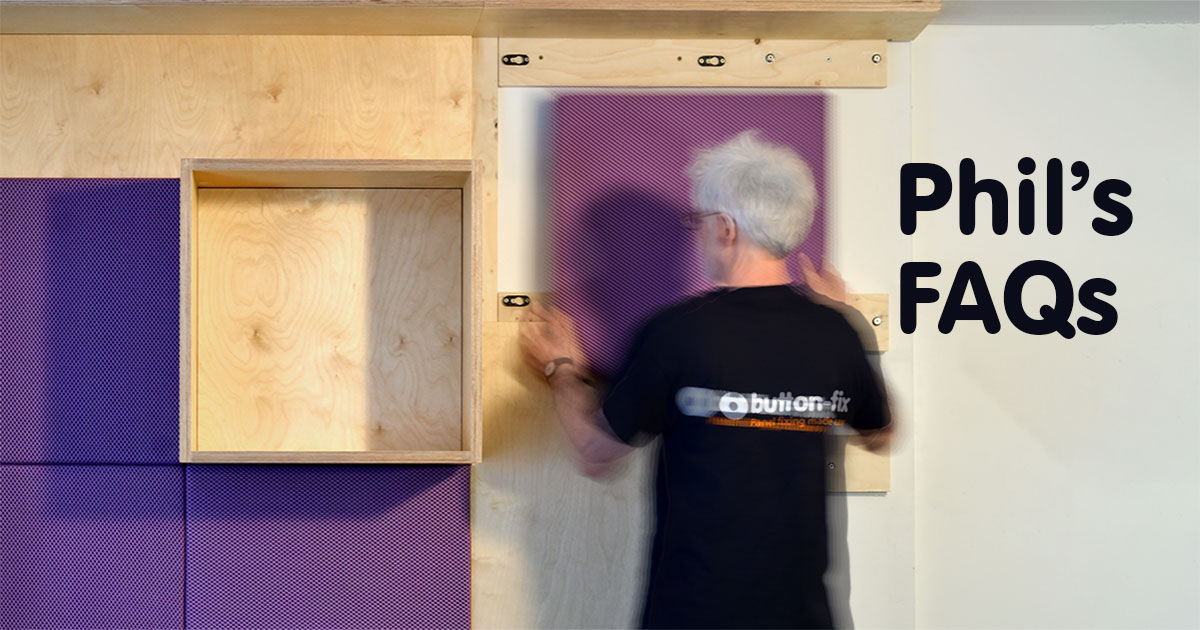
Type 1 Flush or Type 3 Fixes can be screwed directly to PET panels, using the correct length screws. The 8mm stand-off from the wall improves the acoustic properties too, compared to a directly glued panel. Installation is quick and accurate, thanks to Button Marker accessories which mark on the wall where the Buttons should be fitted.
If several panels are required to be butted together seamlessly, then the Type 3 push-on fastener is ideal. It allows a small degree of lateral adjustment, to give a very accurate, tight alignment.
For general use, Type 1 Flush (surface-mounted) is ideal. The keyway fitting requires a 15mm drop-down or sideways engagement. Because of its narrow width, the Type 1 Flush Fix can be used on corrugated PET panels, such as those from De Vorm, orientated longitudinally along the crest of the corrugation. Type 1 Flush can also be used on the edge of 25mm PET hanging panels, with longer fixing screws for strength.
PET panels as thin as 9mm can be attached using the correct screws, which should be tightened very lightly by hand (most torque settings on battery screwdrivers will be too strong). For 9mm thick panels, use Ø4.0/4.5 x 16mm CSK screws with the Type 1 Flush Fix or Ø3.0/4.0 x 10mm pan head screws with the Type 3 Fix. For 12.5mm thick panels, use Ø4.0/4.5 x 20mm CSK screws with the Type 1 Flush Fix; Ø4.0/4.5 x 16mm pan head or #8 x 0.5" flange head screws work well with Type 3.
Note that for Type 3, the Button fixing screw on the wall shouldn't be overtightened. It should be nipped up, but still allow the Button to float enough to take up any tolerances. This way, adjacent panels can be adjusted to give seamless junctions.
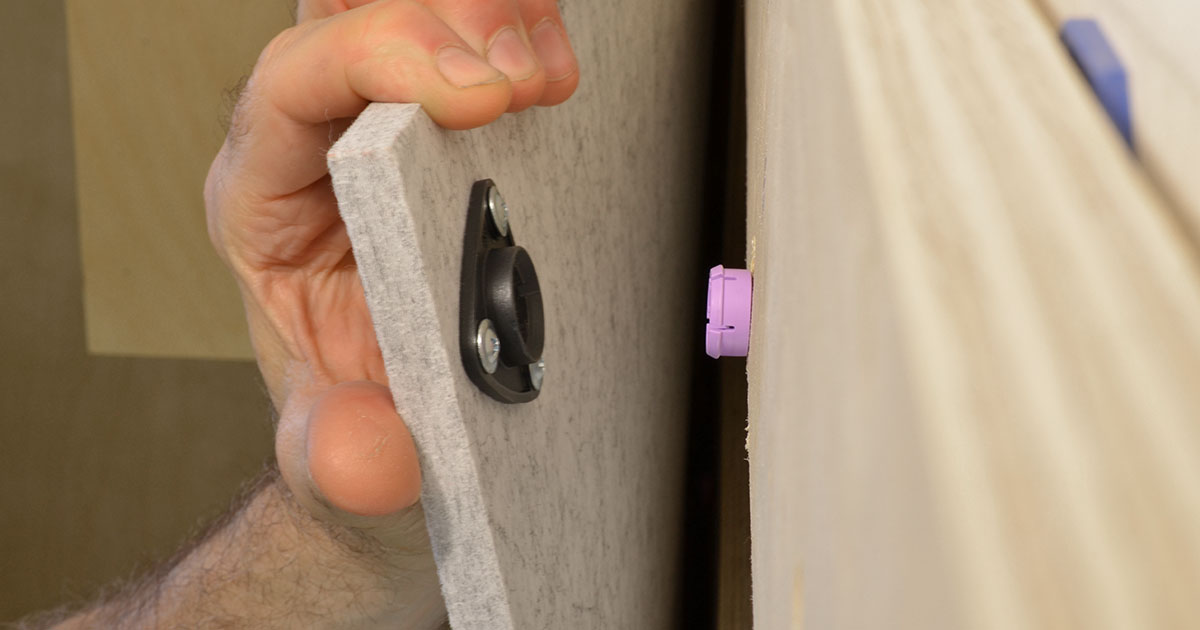
Acoustic panels mounted on Type 3 can be removed by uncoupling one corner at a time. If possible, lever directly onto the flange of the Fix to avoid creasing the PET. For panels mounted on Type 1 Flush, push on the edge of the panel to slide and disengage the Button-fixes. The instructions for use give helpful tips for reducing the disengagement force for panels with many fixings.
Making acoustic panels demountable is so easy with Button-fix, why bother with messy adhesives? They can also be reconfigured, repaired, repurposed or recycled, unlike panels bonded to the wall or ceiling.
Share this article
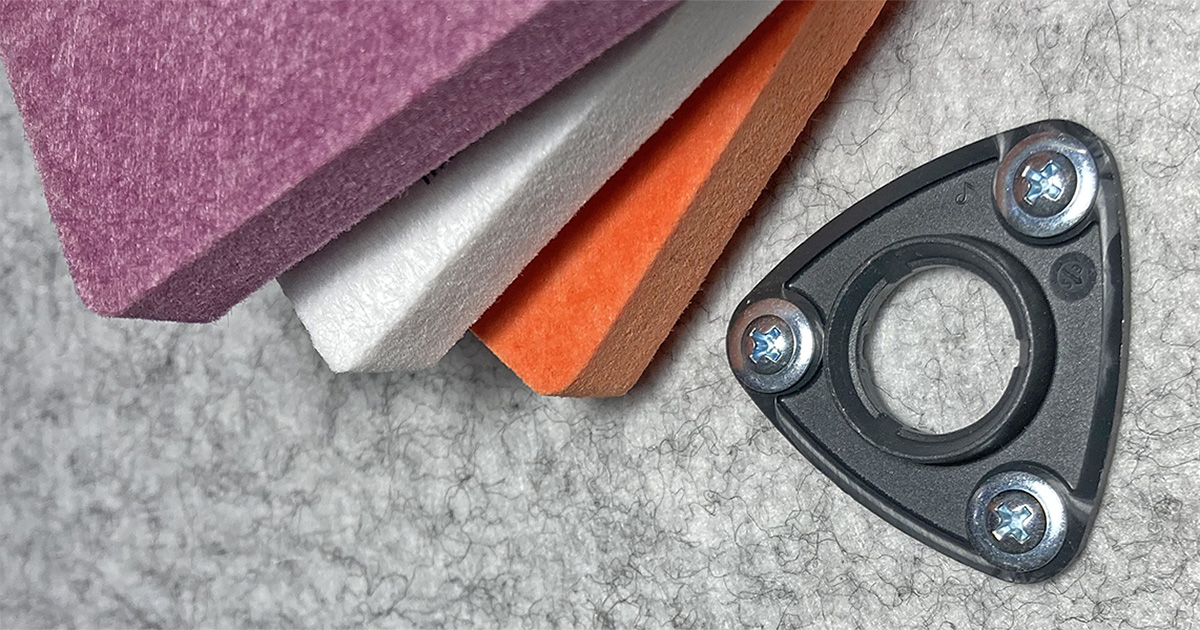
Type 3 works well with many thicknesses of PET acoustic felts, securely attached with three screws per Fix
Related links
Fasteners in this article
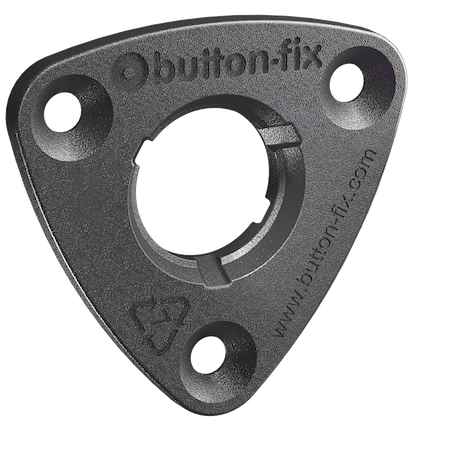
The push-on/pull-off engagement of the Type 3 Button-fix couldn't be simpler, and is ideal when there is no clearance around the panel.
- Connects panels face-to-face with a 3mm or 8mm gap
- Strong push on/pull off engagement
- Ideal for acoustic, wall and ceiling panels
.jpg)

.jpg)