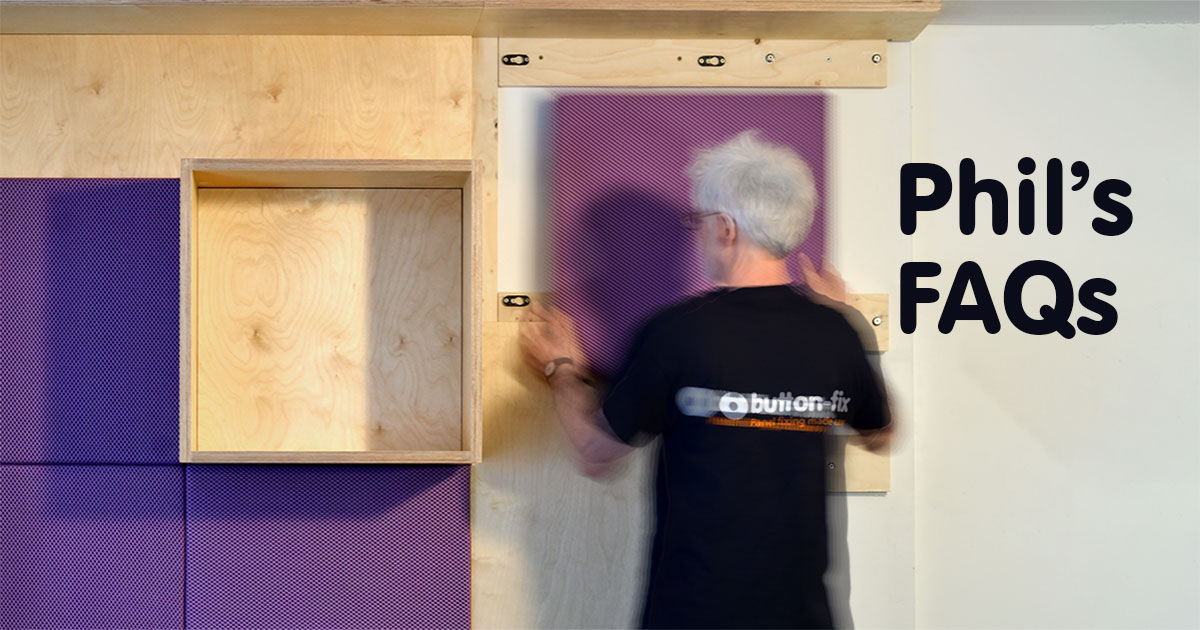
Using the Fix Marker
Fitting Type 2 Button-fix is simple and accurate, when using Fix Marker accessories. This three-minute video shows how.
There's no need for time-consuming measurement if you use the Fix Markers to mark out and align the Type 2 installation. The helpful accessory positions the Button the correct set-back behind the removable panel and shows you where to attach the Fix for perfect engagement. And the Marker can be re-used again and again, for every panel installation mounted on Type 2 Button-fix.
Type 2 fasteners are the perfect choice if you want to attach panels to timber stud uprights, with the blue Type 2 Buttons screwed to the side faces of the studs. This is the application shown in the video. The push-on engagement allows the panels to extend right up to the ceiling and into the corner too.
To use the Fix Marker, first hook it onto a Fix with a Button. Then position the assembly onto the timber upright, with the tabs of the Marker aligning with the front face of the upright. Screw the Button to the upright, with confidence that it is set back the correct distance from the front face. Install similar assemblies with Markers roughly every 600mm (24") along the framework. Offer up the front panel, make sure it is aligned as you want it, then press firmly over each Marker assembly. The stainless-steel points will leave indents on the rear face of the panel, which can be used as pilot guides when attaching the Fixes.
A useful trick when marking out onto hard surfaces such as compact laminate is to first apply a layer of Gaffer or Duct Tape. The indents from the Markers will show up more clearly on the tape surface.
Building a panelled wall directly onto timber studs could not be quicker and easier than using Type 2 Button-fix with Fix Marker accessories.
Share this article

Fasteners in this article
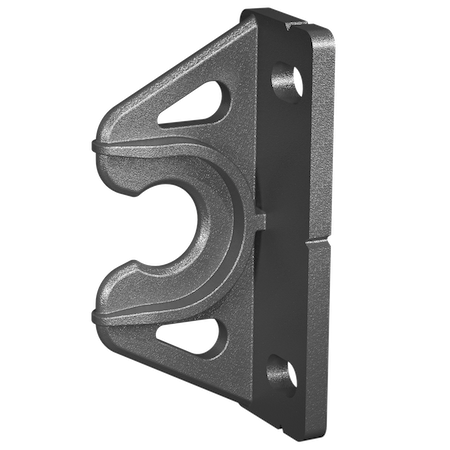
Its 90° connection and straight push-on engagement make the Type 2 Button-fix the recommended choice for access panels and boxing-in services.
- Connects panels at 90° or to a frame
- Push-on engagement
- Ideal for service access such as bath panels
Accessories in this article
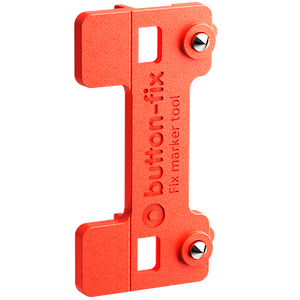
Fix Marker for Type 2
The Fix Marker for Type 2 helps to quickly and accurately align the Type 2 Button-fix installation, reducing the need for measuring and marking out. The marker points will leave indents on the surface of the removable panel, which can be used as pilot guides for the Fixes.
.jpg)
.jpg)